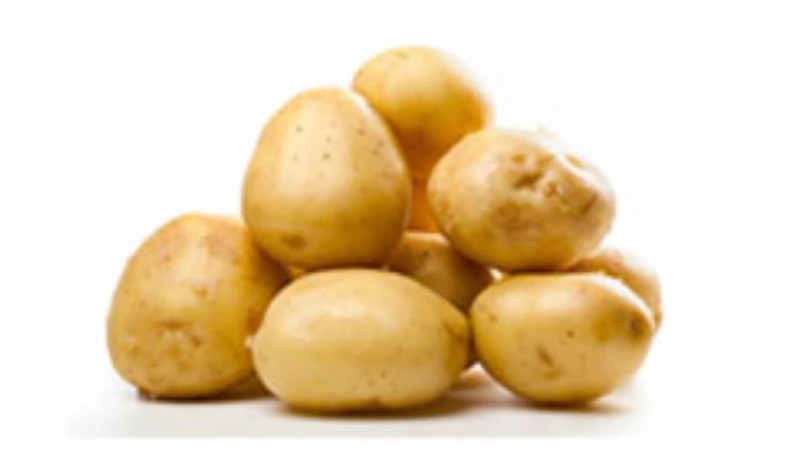
 Certified seed potatoes have been in hot demand over the past few years as it seems people love to grow them. There is nothing like the flavour of new potatoes and to many of us, they are a valued treat.Usually in Melbourne, at the earliest, you would plant at the start of winter. Autumn is early to be planting, but some people just can’t wait to get them in. In most areas, you would go from August to February, but in sandy frost-free areas, they can also be planted during late Autumn, June and July. In cold areas you generally plant your first batch 1 month before the expected last frost – sometimes a tricky question.
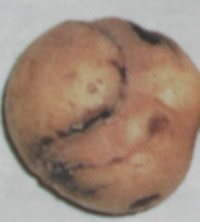 Potato growers are being urged to use only certified seed potatoes to help stop the spread of the diseased Potato Virus Y. This virus has already cost the potato industry many thousands of dollars in lower yields and reduced quality. Although this virus has been around for many years, new strains that are more aggressive are appearing. It is becoming a global problem.Although the virus can be transmitted by aphids and possibly thrips, the smart way to control the disease is to not only control these insects but definitely not to use infected plants for future planting stock. Infected plants can have mottling and yellowy chlorosis of foliage and the potatoes themselves can show major cracking, circular wounds or marks. It can quickly transmit through a growing district and could even affect home gardens.
If you have got your potatoes earlier than you think you might have needed them, you can chit you potatoes for a month or so before planting. This is an old Horticultural process where we encourage the seed potatoes to sprout roots before planting. Doing this will help guarantee the success of your future crop. Do this as soon as you purchase your seed potatoes.
How to Chit Potatoes: Take your tubers (seed potatoes) and space them out and store in a cool area. Within a week or two, white roots will begin to sprout. Allow the roots to reach at least 2cm in length before planting out into the garden. Handle them carefully as the roots are fragile and can be broken easily.Planting Depth: Plant tubers in a small ditch, 15-20cm deep and then cover with 30-40cm of mulch and humus-rich soil. As new shoots appear, keep mounding more mulch or organic matter to exclude their shoots from the light. Make a hill around where the seed potato (tubers) are planted. If shoots are exposed to frost, protective measures need to be in place as their young shoots are sensitive to these conditions. Once the risk of the last frost has past allow the shoots to emerge.Harvest: 60 – 110 days after the last frost, depending on the variety. Once the shoots have flowered and foliage begins to die back to soil level, cut the foliage down and leave the potatoes to rest for 2-3 weeks prior to digging up. This allows the skins to harden for better storage.